German expressionism has always been an interest of mine, primarily for the mood evoked by many pieces from this era. As someone interested in game design, specifically level editing, I spend a decent amount of time analyzing 3d environment found in various genres of games (first person shooter, survival horror and adventure games). I learned that one of the crucial elements to a great game is the environment- if designed well, an environment can tell a story by itself without the aid of dialogue. Players can form a story in their subconscious if a level designer creates an environment that fits the theme of the game or game sequence.
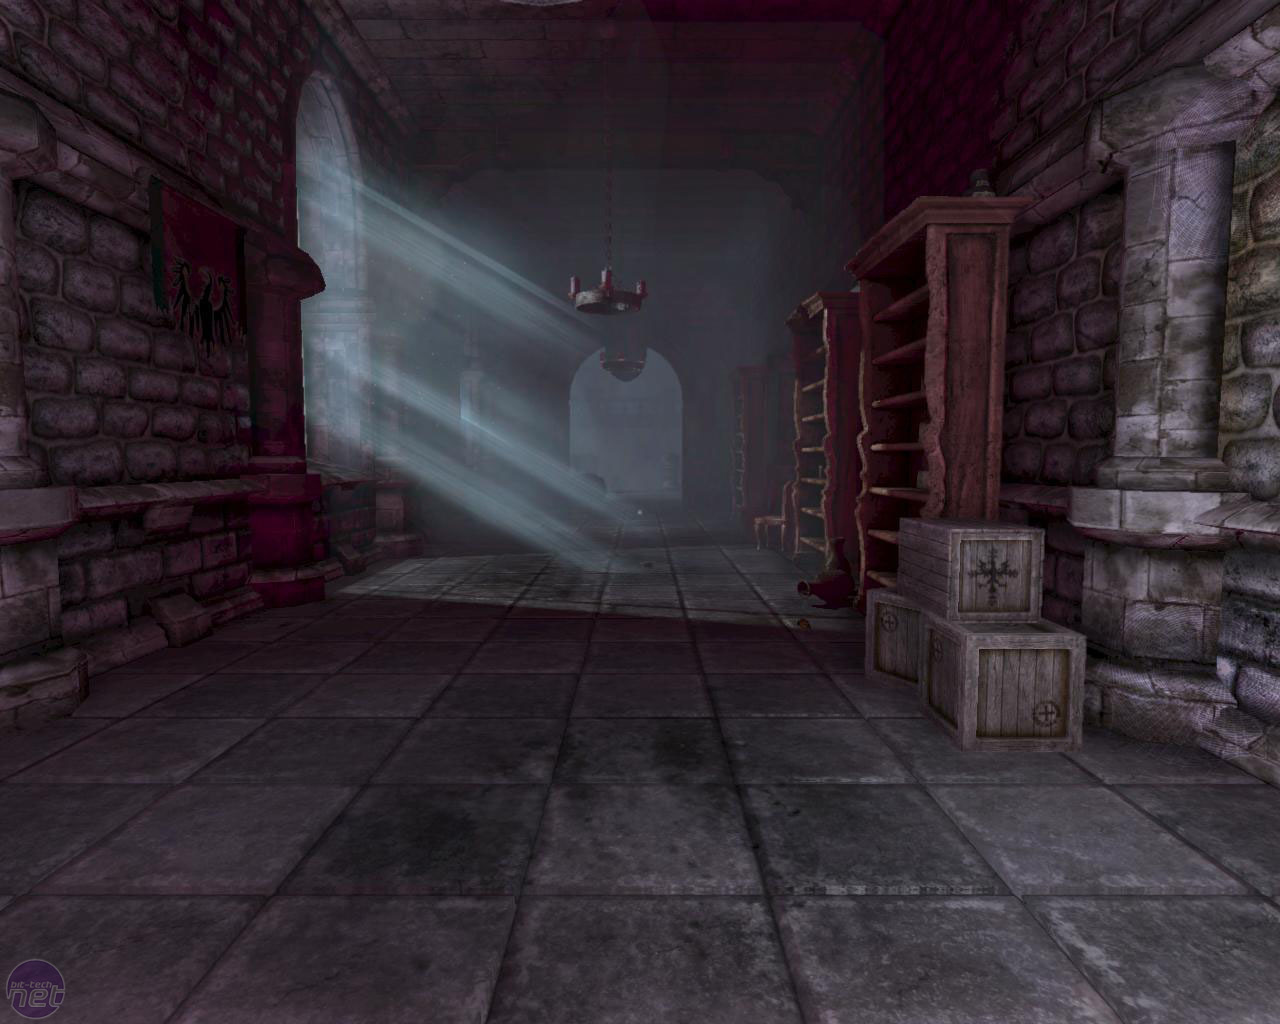
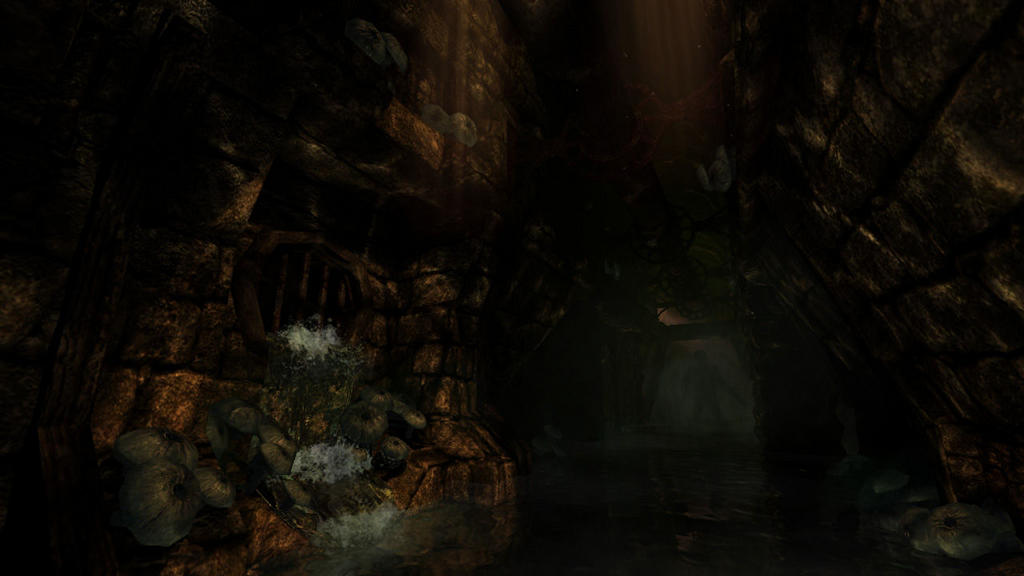
I recently discovered an amazing survival horror game entitled "Amnesia: The Dark Descent". It was created by an independent game studio and released in 2010. Unlike many mainstream games, Amnesia doesn't rely on spectacular graphics as a selling point- it relies upon the environment, both layout and audio. From a first person perspective, players must progress through levels by solving puzzles (interaction with objects through mouse gestures, such as moving the mouse in a circular fashion to turn a crank), avoiding horrifying monsters, and staying sane.
The catches:
- No weapons are available to defend yourself with.
- Environments are very dark and your only sources of light are a lantern and torches that you can light.
- Your lantern has a limited oil supply that you must conserve. You can find oil throughout levels, but it is a scarce commodity.
- To light torches, you need tinderboxes that you find. Once torches are lit, you can't put them out.


Instantly, I became interested in setting mood without relying on a concrete story. I wanted to develop a project in which the viewer can emotionally respond to it. I began to mentally formulate a simple environment with dim lighting and eerie imagery with an audio track to accompany it.
I wanted to model and animate a room. Beyond that, I had no concrete ideas. I began by modeling a polygon staircase. Starting with a rectangle, I beveled the top front edge so it would be rounded and not entirely square. Using duplicate special, I set the number of duplications and the transform attributes so each duplicate would be displaced in the x and y axis (to form the stairs). Moving on, I extruded the top stair's back face to form a landing. I extruded the landing's side faces to extend the landing. To make the banister's supports, I created a polygonal cylinder and duplicated special with transform. The railing itself is made of polygonal rectangles with 3 height subdivisions; the middle face was extruded inwards. Smooth shading was applied. Strategical placement of edge loops combined with vertex editing molded the final product.


To texture the staircase, I applied a wood material, tweaked the settings, and deleted and applied new UVs because it was not projecting the wood material correctly.
To create the chairs in my project, I created a polygonal rectangle with multiple edge loops, extruded faces for legs, cushion, armrests, and back. After smooth shading it, I applied more edge loops, edited vertexes, and applied a simple red lambert material.
The fireplace went under complete revision. My original fireplace looked like a wood-burning stove. to make the revision, I started by creating a 3 point arc. Using the make polygon tool, I traced the arc, and continued to map out points to make an archway shape. I cut the face to make a rectangle on each side, and extruded those two faces to make the fireplace's walls. I placed the fireplace on a polygonal rectangle and added detail by creating two columns and molding on top. A marble material was applied to every face but the inside wall, where I applied a brick texture. I had to delete and add new UVs.

The candles on the walls were a simple polygonal cylinder with subdivisions. I scaled vertexes to make the shape and the wick. A simple lambert was applied. The candle holder is a polygonal cylinder with one side face extruded outwards (for connecting to the wall), and the top faces extruded, scaled inwards and downwards. Smooth shading was applied. Lambert material was applied.
The walls include molding that consists of three edge loops extruded, moved, and smooth shaded. A wood texture was applied. The material was blinn with a faint shine. The bottom section of the walls consists of a wood panel texture; the top half includes a grungy wallpaper. The pictures consist of a rectangle with the front face extruded inwards and scaled inwards; the frame's material is lambert wood and the image is from a file. Each different picture was a duplication, scaled in different directions with a new image file in the color attribute. Some frames have different wood material settings to subtly change colors.
The floor is a simple wood texture.
For setting up the camera, I used camera aim and up. I created an area light, changed it's dark color to gray, added decay so the light would not extend too far. I placed the area light directly in front of the camera and grouped them together so the light would always point where the camera would. To animate it, I just set keyframes as if someone was walking through the room and looking at pictures. I finished the project in Final Cut Pro, adding a title slide and music.
Reflections:
I ran into a lot of problems with this project. I started it on my laptop and put approximately 25 hours of work into modeling, texturing, and adding dynamics. In my original project, I set up a very complex rain particle effect that could be viewed through the house's windows. In essence, it was a particle that emitted from a polygonal plane with turbulence, gravity, opacity and color tweaks so the particles were streaks that fell at a random rate, were affected by invisible wind (movement of particles) and were relatively opaque. When they hit the ground, they interacted so that they split into three particles and dissipated. It looked like an actual raindrop hitting the ground and splashing. I brought my project to the mac lab on campus, and nearly ever version of the project crashed Maya. I had to start over nearly from scratch.
I figured that the particle effects were causing maya to crash, so I shifted the focus of my project to lighting effects and imagery as opposed to relying on dynamics. Strangely enough, my updated version of my project also caused maya to crash in the mac lab. I suspect it has to do with my version being 32 bit, whereas the mac lab's versions are 64 bit.
While I am satisfied with my project as it is, I believe there is a lot more I can do with it. In the future, I want to add a significant amount of detail to it, adding more aspects to the environment. I also want to learn how to control the camera more effectively.
The final render can be found here:
http://www.youtube.com/watch?v=B2GnmXudOhg


